Blockchain Explorer
The NEM team would like to thank Chang Lu for writing this tutorial and contributing this code.
I am a part of the NEM China Community and built a NEM BlockChain Explorer in Java a few months ago. Then a few weeks ago, I found out about the NEM project bounties program which included a NEM Blockchain Explorer, so I started to code another explorer written in Javascript/Node.js. I have used the NIS API for a while before this project as a Nemster; the NIS API Document is pretty nice and the API is quite easy to use.
The project is built on Node.js and MongoDB is also needed. The front end is built on Bootstrap and AngularJS. The whole NEM Blockchain Explorer includes the following modules:
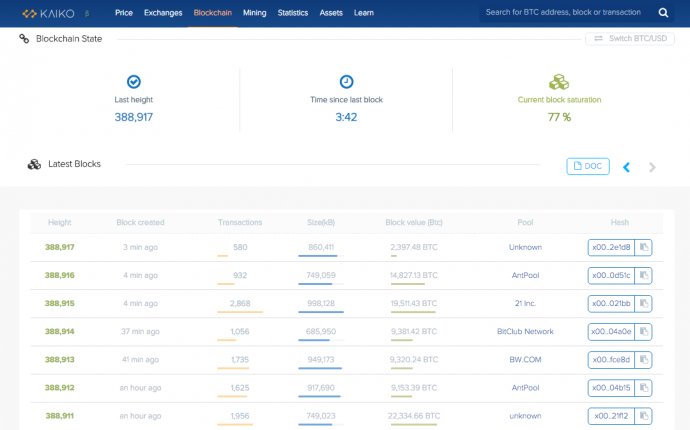
- Block - view all blocks by paging and transactions which are included in the block
- Transaction - view all the transactions by paging
- Account - view rich list and harvested list
- Node - view all nodes or Supernodes in the current NEM Network
- Supernodes Reward - view the Supernode rewards for each day
- Namespace & Mosaic - view all namespaces and mosaics which are included in a namespace
- Search - you can search by block height, transaction hash, or account address
Requirements before starting to build the project include:
- Install Node.js on your machine
- Install NPM
- Install NIS, run it and wait for all blocks to be loaded and synced
- Install MongoDB and run it (it's better to set an account and password)
- Install git
Let's start to build the project:
1) Install bebel (for ES6)
npm install babel-cli -g
2) Put either the nodejs or java blockexplorer on your system:
‘git clone OR
‘git clone
3) Locate the project folder and install the needed dependencies
npm install
4) Add your config into the file (app/config/config.js)


